Trigger points, a.k.a. “knots,” are tender, palpable spots that can hamper your mobility and often radiate pain to other areas of the body. Beyond messing with your running, they can make everyday activities, including resting and sleeping, uncomfortable.
Trigger points suck, but here’s the good news: You don’t have to suffer, nor do you need to shell out hundreds of dollars for a professional sports massage every time you get a knot. You can effectively perform trigger point release, a form of manual therapy, on most areas of your body yourself. But before you grab a tennis ball or foam roller, it’s important to understand what trigger points are, how they form, and the best technique for releasing them. Here’s your guide to trigger point exercises.
All About Trigger Point Exercises
You may have heard trigger points referred to as “adhesions” in muscle tissue or stuck-together layers of fascia that need to be “broken up” or dissolved with pressure. While it may feel like a knot is disintegrating as you press into it, this understanding of trigger points and how they respond to manual therapy is inaccurate.
“It actually takes thousands of pounds of force to deform connective tissue,” Grayson Wickham, P.T., D.P.T., founder of Movement Vault, a stretching app and website, tells Runner’s World. He explains that the formation and release of trigger points are likely functions of the nervous system. That nodule you feel is increased muscle tone in one concentrated area. “When you put pressure on that trigger point, the sensory nerves going back to your nervous system communicate a certain message. Your nervous system interprets that and sends output back to that muscle to decrease neurological muscle tone,” Wickham says.
Essentially, pressing on the trigger point tells your nervous system to chill out, and it responds by relaxing the tightened muscle fibers and “releasing” the knot. “It’s kind of this feedback loop,” Wickham says.
“There are likely a lot of different reasons we get trigger points,” says Claire Morrow, P.T., D.P.T., a physical therapy consultant at Hinge Health. “This includes history of injury, like a muscle strain or tear in the area, or prolonged or repetitive use of one muscle.”
In general, the nervous system “remembers” everything that’s happened to the body and attempts to protect it from potential threats by tightening up and limiting movement.
“Trigger points can also be exacerbated by other factors, likely nutrition, hydration, and stress,” Morrow adds.
Benefits (and Limitations) of Trigger Point Release
“Trigger point release has the potential to decrease pain quickly,” says Joseph Bryan Lipana P.T., D.P.T., owner of FYZICAL Therapy and Balance Centers in Punta Gorda, Florida. “Muscles contract, relax, and lengthen normally when they are without pain, resulting in optimal and energy-efficient movements—like running—while decreasing the risk of injury.”
Addressing a tender knot before a workout (or anytime you’re feeling discomfort) can offer relief and help you move better. Plus, trigger point release is relatively intuitive and accessible.
However, the benefits of trigger point release are mostly short-lived. “You can roll a tight hip flexor, and if you do it correctly, immediately after, you’re going to have some increased range of motion and less tightness in that hip flexor. But then the next day it’s going to be tight again,” Wickham says.
To create lasting effects, you need to pair trigger point release with interventions that address the root causes of muscle tightness, like instability, weakness, and poor movement patterns.
How to Do Trigger Point Exercises
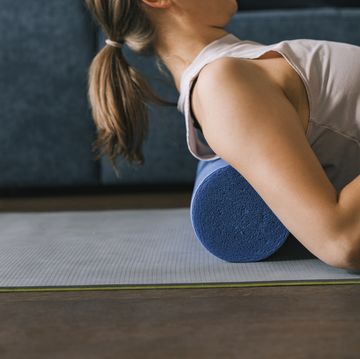
The at-home fitness market is filled with specialized products designed to facilitate trigger point release, but you can also use items that you already have, like a tennis or lacrosse ball, water bottle, or foam roller. Keeping a few options on hand can be helpful, as the ideal tool may change depending on the body part. For example, you may prefer using a lacrosse ball to target trigger points in the feet, but a foam roller may be easier to manage when addressing the calves.
The idea is to use your bodyweight and your apparatus of choice to apply focused pressure to the painful area. But, when it comes to intensity, more is not better. Remember that trigger points are driven by the nervous system. Any stimulus that causes you to tense up, grimace in pain, or break a sweat can be perceived as a threat and may prevent you from decreasing muscle tone, which is the ultimate goal of a trigger point release. Wickham recommends applying a moderate amount of pressure. “You should be able to breathe nice and deeply,” he says.
Also, you don’t have to spend an excessive amount of time on each trigger point. “Anywhere from one to two minutes is typically plenty,” Wickham says. You can maintain pressure in one spot or, for bigger areas, move the ball or roller by a millimeter or two every 20 to 30 seconds, pausing to focus on tender points.
The Best Trigger Point Exercises for Runners
Trigger points can form anywhere in the body, but you may find that some areas cause more problems than others. Below is a list of common trouble spots in runners along with tips for how to use trigger point release to address them.
1. Trapezius (Neck/Back)
The trapezius is the large, trapezoid-shaped muscle that starts at the base of your skull and stretches across your shoulders and down the middle of your back. If you feel knots in your neck and around your shoulder blades, it’s likely your traps.
You can easily get at this area by lying on top of a tennis or mobility ball and rolling around until you hit a tender spot. “I like to place a tennis ball on the back of my shoulder and lie down on my back as I move my arm in different ranges of motion,” Morrow says. “This also helps stretch out your pecs and open up your upper body in a new posture than the one you spend so much time in while running.”
For hard-to-reach areas, Lipana recommends a Backnobber, or a similar S-shaped device that can be used from a standing or seated position.
2. Piriformis (Deep Glute Muscle)
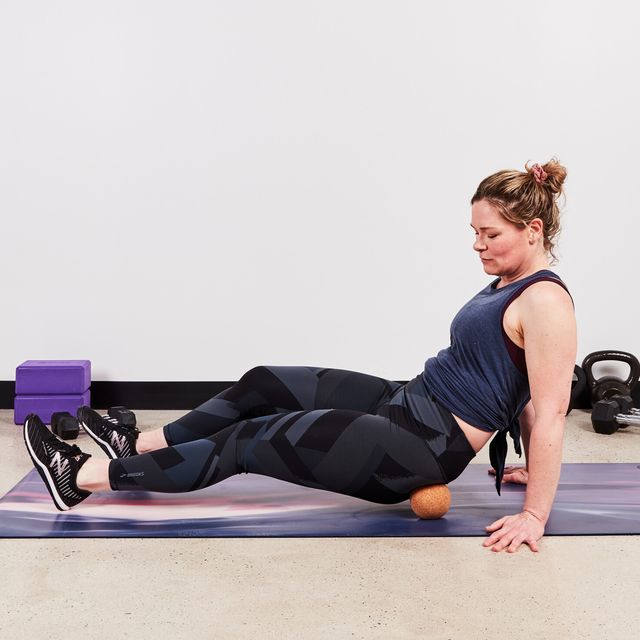
The piriformis runs diagonally underneath the glutes, originating from the sacrum and connecting to your femur. As a hip stabilizer, it works hard in runners and can be prone to tightness. You can use a ball to relieve trigger points in this area by sitting or leaning on a small ball. But if you have trouble balancing or the pressure is too intense, opt for a softer foam roller.
3. Gluteus Medius
Located in the hip or “side butt” area, the gluteus medius works overtime to stabilize the pelvis as you run. It’s fairly easy to access this area using a ball, but if you find yourself slipping or the pressure is too intense, switch to a foam roller.
4. Quadriceps
“[The quadriceps, or the front of the thigh] is the area I focus on the most with my trigger point release, primarily with foam rolling on the area,” Morrow says. “When I find a spot that’s a bit more tender, I’ll also rock over the area, instead of just rolling up and down my thigh. For me, this really helps if my knees are sore after a hilly run or speed work.”
You can also try bending and straightening the knee as you apply pressure with a ball, Wickham suggests. Bring your heel toward your glutes, hold until you feel some release, then straighten the leg. Repeat that a few times.
5. Adductors (Inner Thighs)
When targeting the adductors (the inner thighs) Wickhams recommends assuming a half “frog stretch” position (facedown, leg out to the side, knee bent) and using a foam roller, as it can be difficult to maintain contact between the inner thighs and a ball.
6. Gastrocnemius and Soleus (Calves)
“Your calves are two muscle groups: gastrocnemius and soleus. Your gastroc is the big meaty part, closer to your knees, but your soleus is lower, more around your Achilles, and it can get very tender and tight in runners,” Morrow explains.
When working on the calves, she typically reaches for a soft tennis ball rather than a firm lacrosse or mobility ball, as the area can be sensitive. “I usually advise my patients that the discomfort you feel during trigger point release shouldn’t be so intense that you can’t relax the rest of your body. You don’t want to develop trigger points in your neck from aggressive therapy on your calves,” Morrow says.
7. Plantar Fascia and Foot Muscles
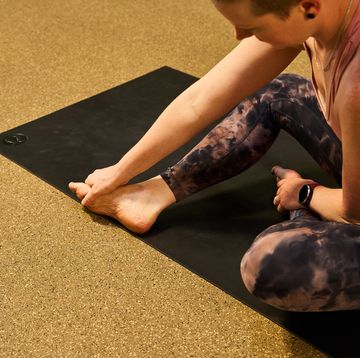
To target trigger points on the bottom of the feet, place a ball under one foot and, from a seated or standing position, roll the sole of the foot over the ball. When you hit a tender spot, stop and put more weight on the ball. “You can also try flexing and extending your big toe,” to activate the muscles in the feet, Wickham says.
